HOW TO CLEAN YOUR ADIDAS GAZELLES
[ How To ]
Article
 Play video
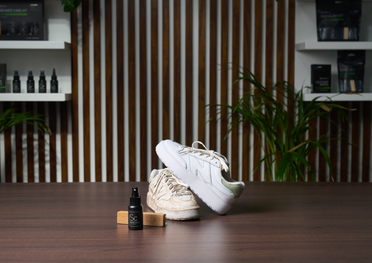
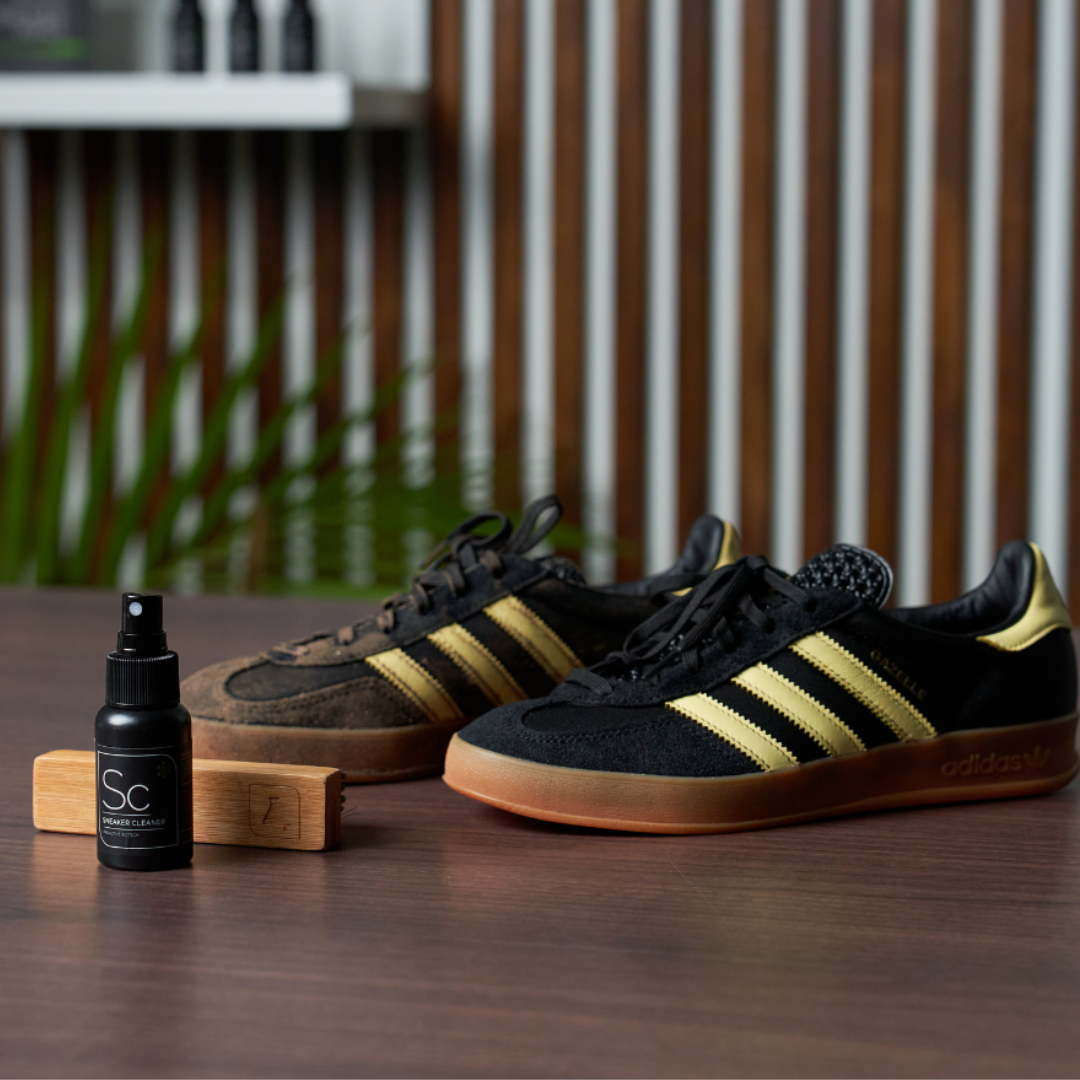
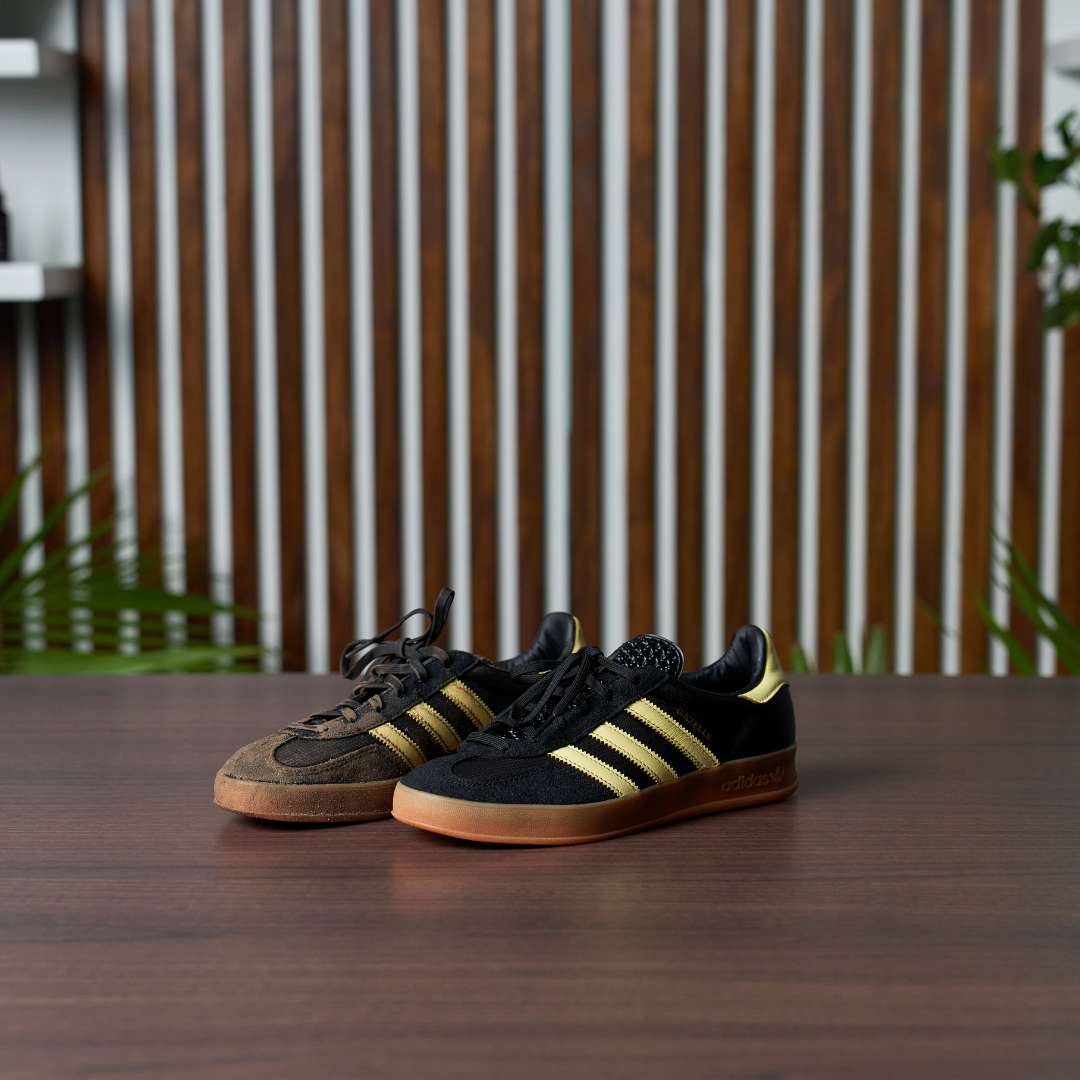
Looking to get your Adidas Gazelles as clean as the day you got them? Look no further!
Our Sneaker Care Range has got you covered.
Our Sneaker Care Range has got you covered.
Gazelle may have started as a trainer, but it's had a long run: this low-profile classic boasts a lightweight nylon upper that has been moving strong for over 70 years growing into an iconic streetwear staple.
Step 1:
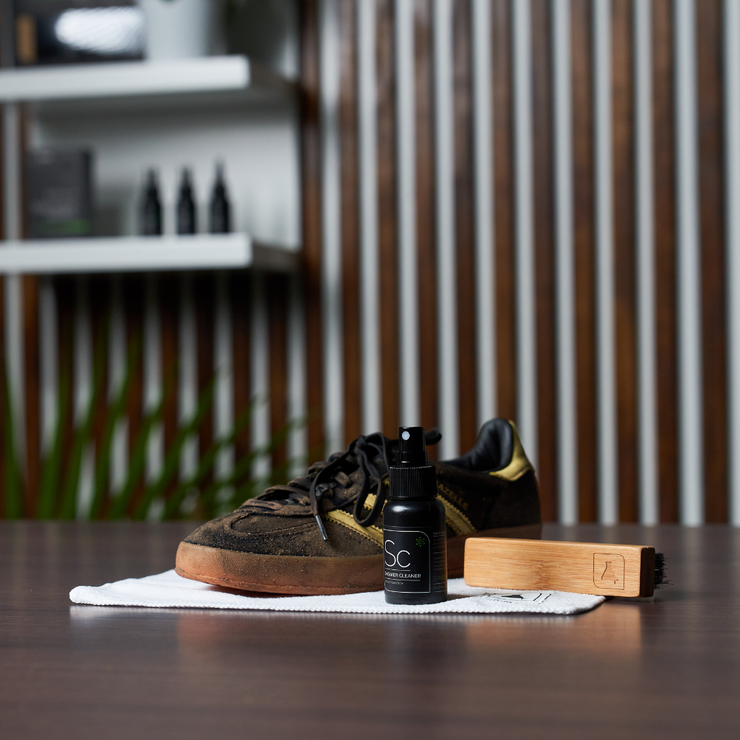
Begin by prepping your Adidas Gazelles for a thorough cleaning session. Start by unlacing your sneakers and carefully setting the laces aside for later cleaning. Utilize our Premium Brush to gently remove any excess dirt, paying particular attention to heavily dirty areas.
Step 2:
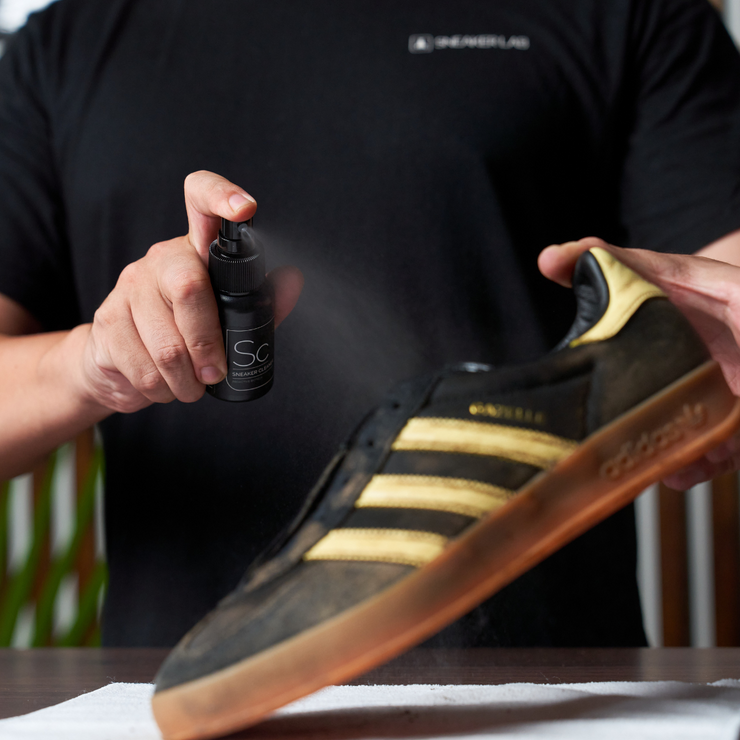
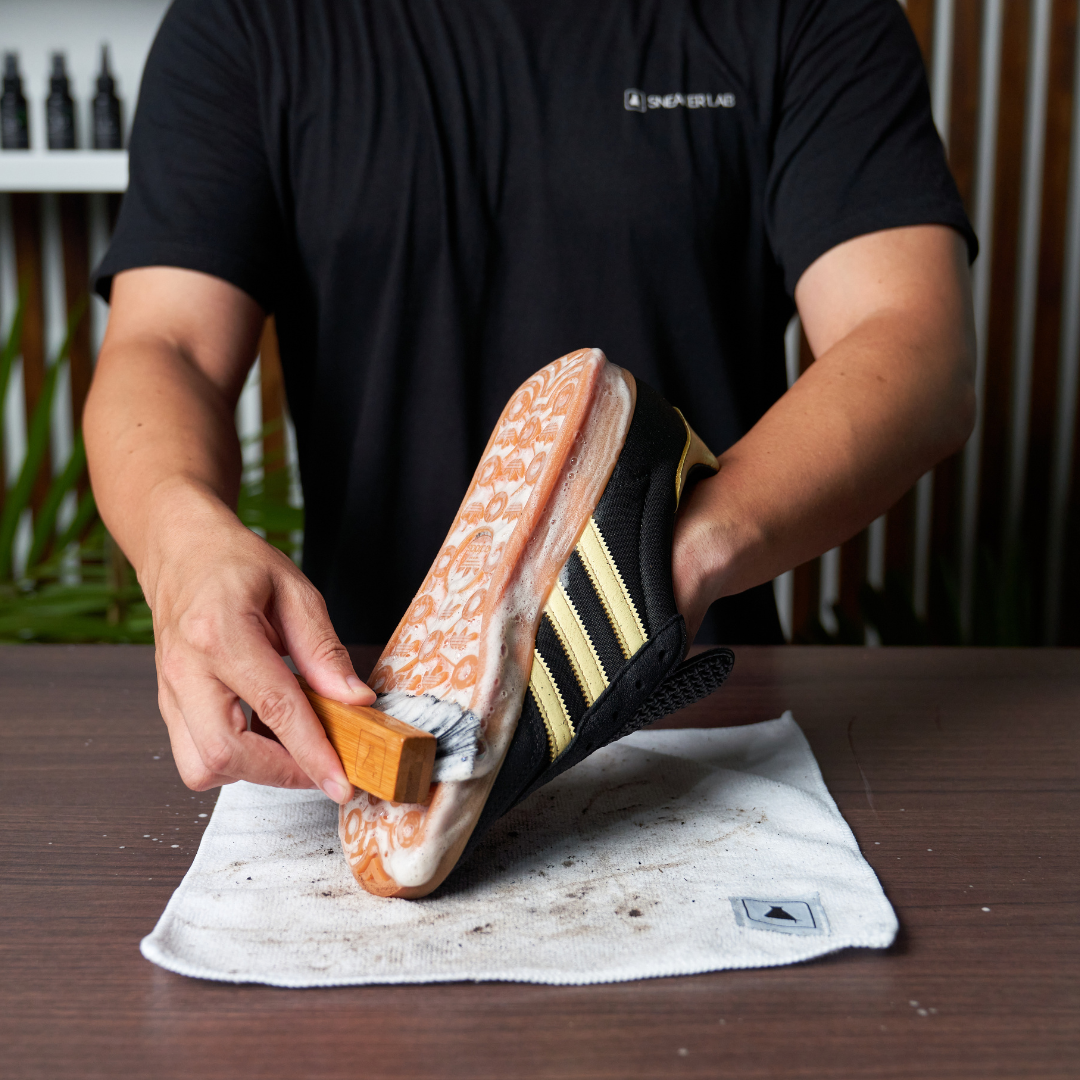
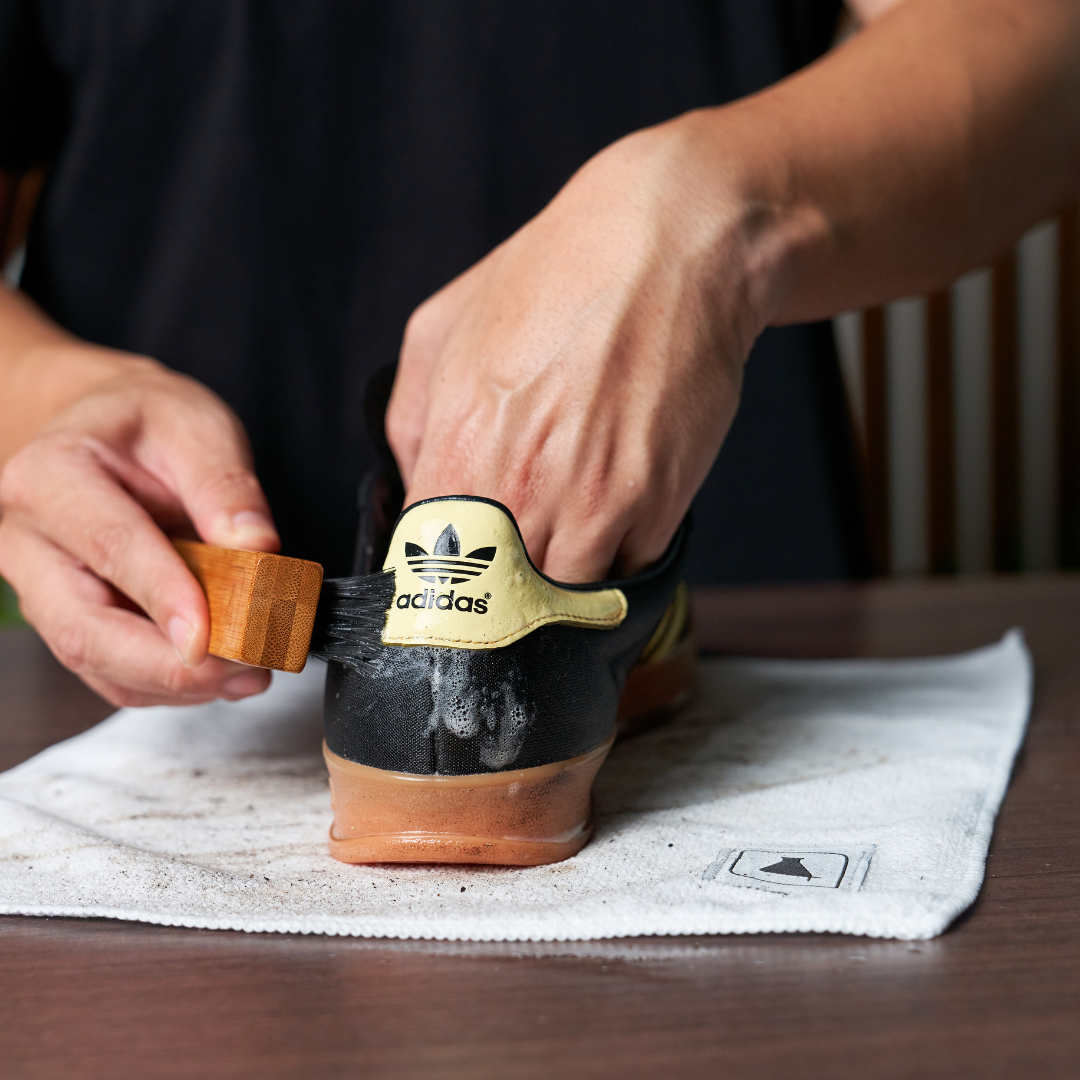
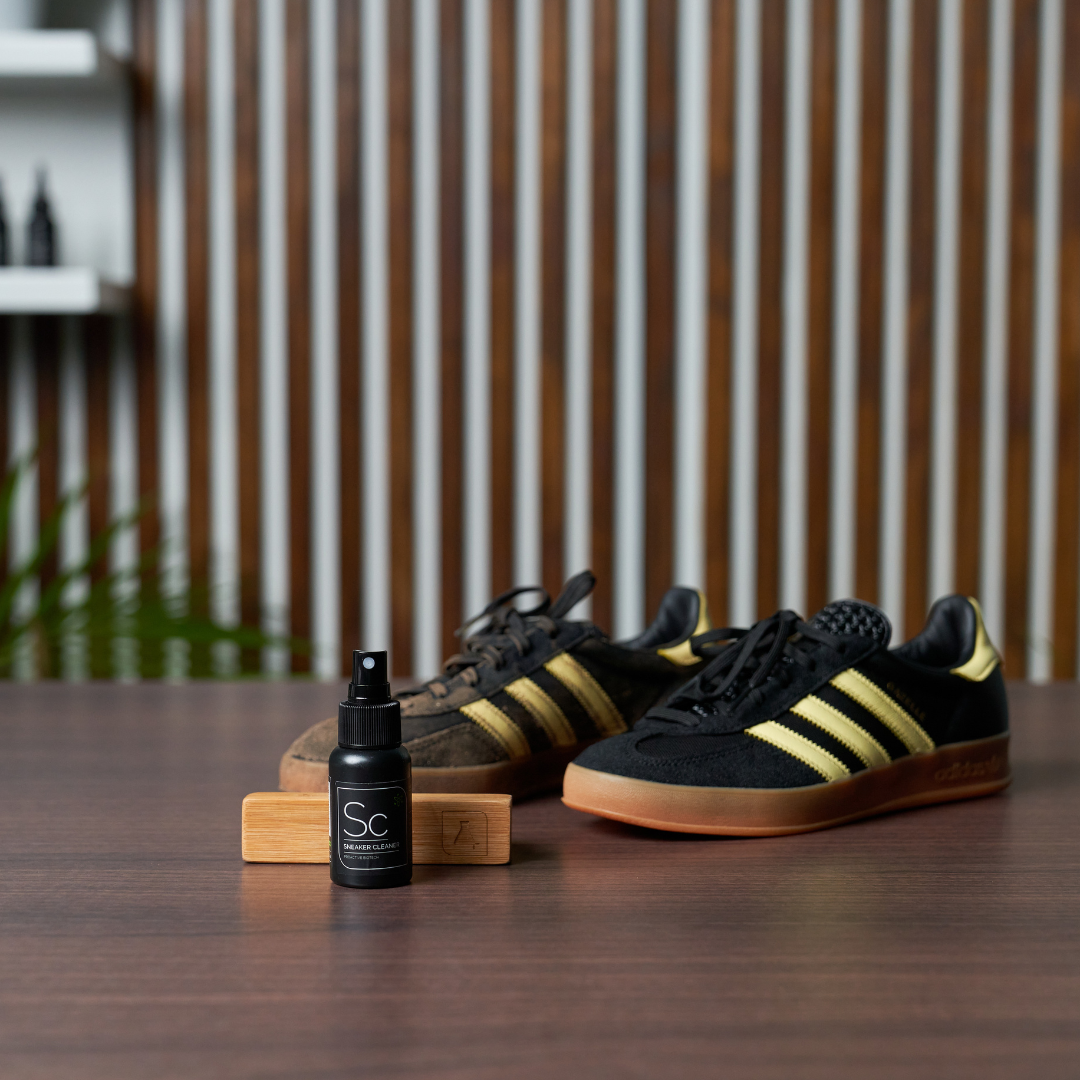
Next, evenly apply our Sneaker Cleaner solution over the entire surface of the sneakers. Submerge our Premium Brush into a container of water and begin scrubbing the nylon upper in a circular motion until a foamy lather forms. Proceed to clean the outsole of the sneaker, ensuring to scrub until all dirt is lifted from the surface.
Step 3:
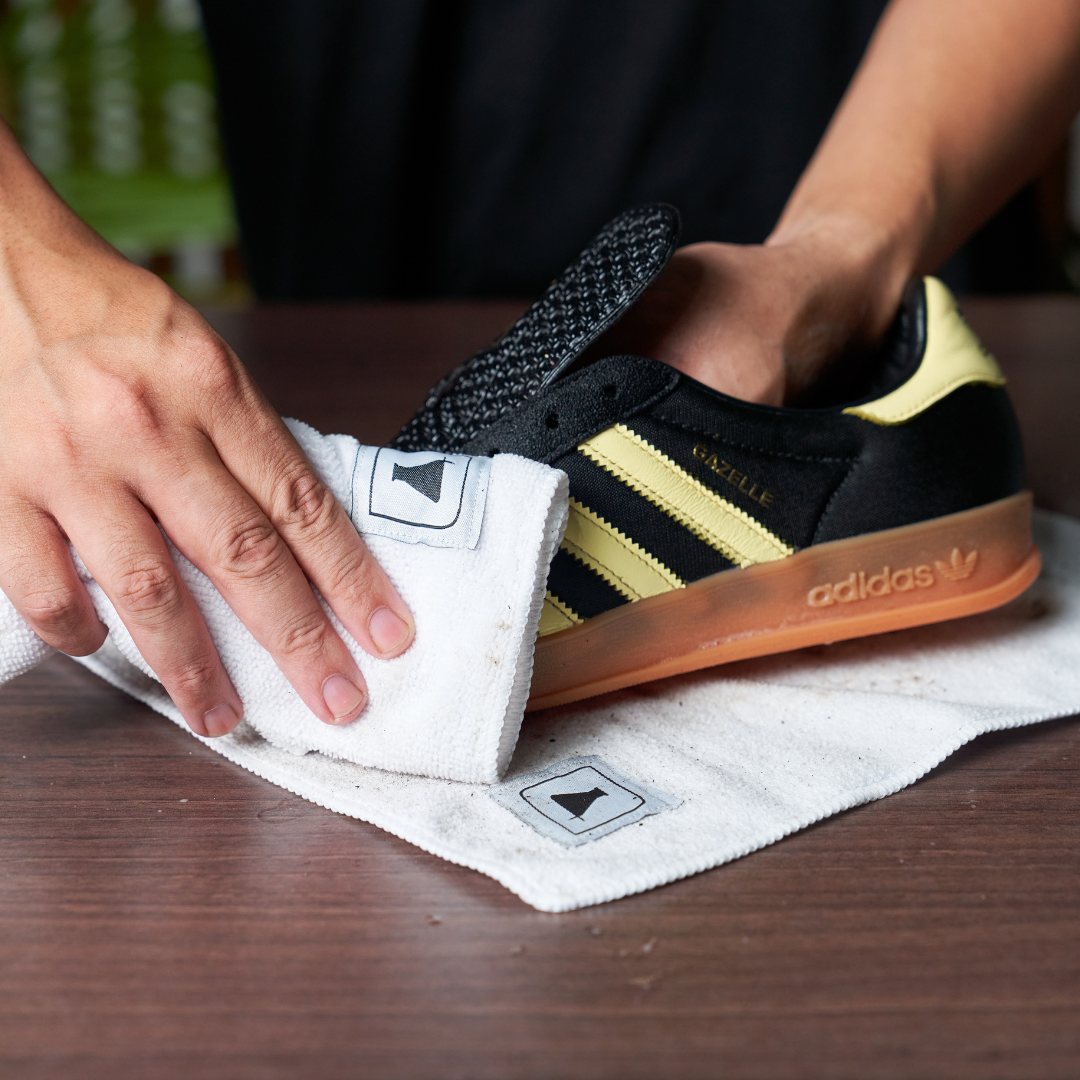
Use our Microfiber Towel to gently pat away any lingering moisture and residual dirt on your Gazelles. Allow the sneakers ample time to air dry naturally.
Step 4:
Now, turn your attention to cleaning the laces. Spray our Sneaker Cleaner directly onto the laces. Rub them together vigorously in your palms, then submerge them into a fresh container of water to generate foam. Repeat this process until the laces are free from dirt and grime. Afterward, gently squeeze out excess moisture using a Microfiber Towel and set them aside to dry thoroughly.
Step 5:
Once your Adidas are dry, lace em up!
Step 6:
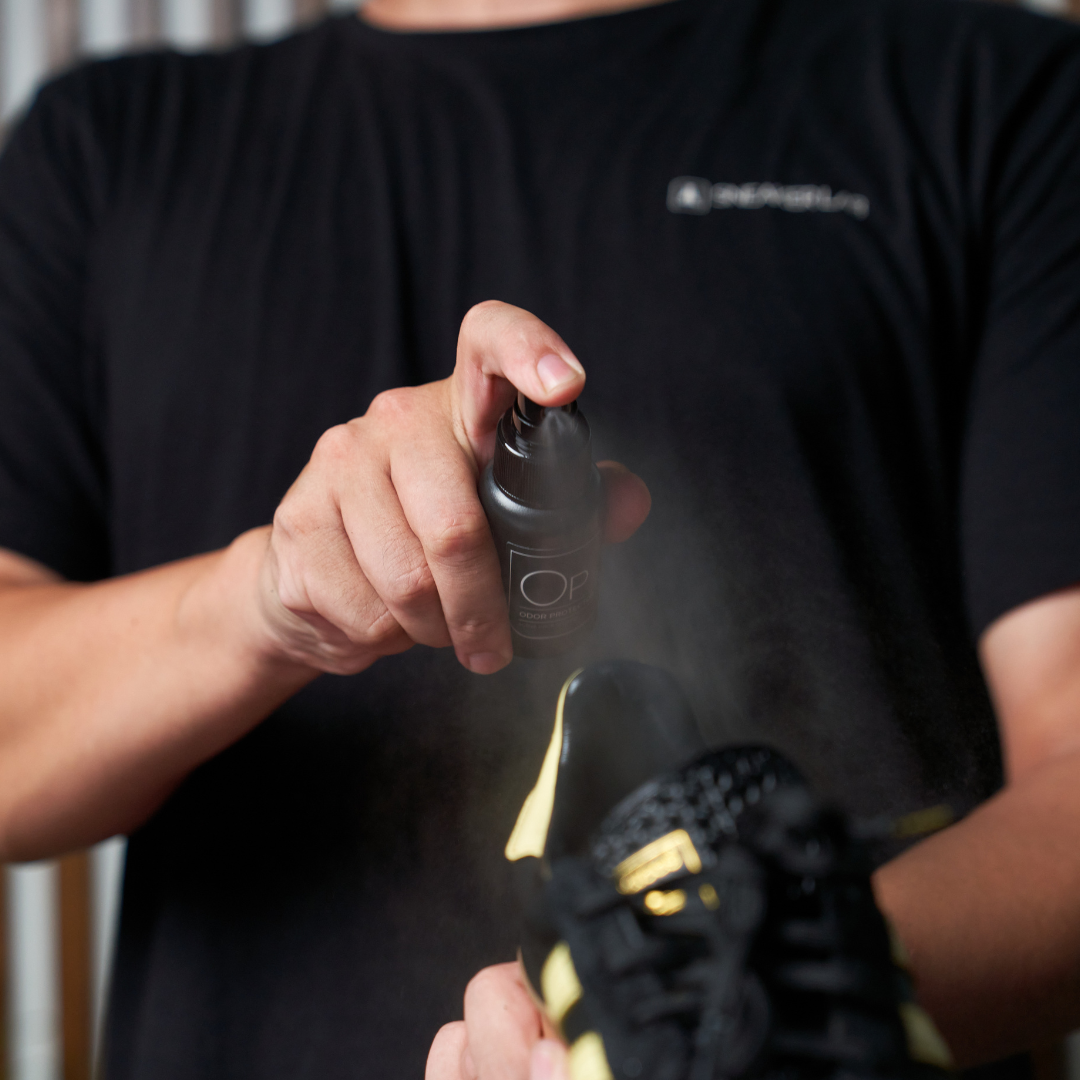
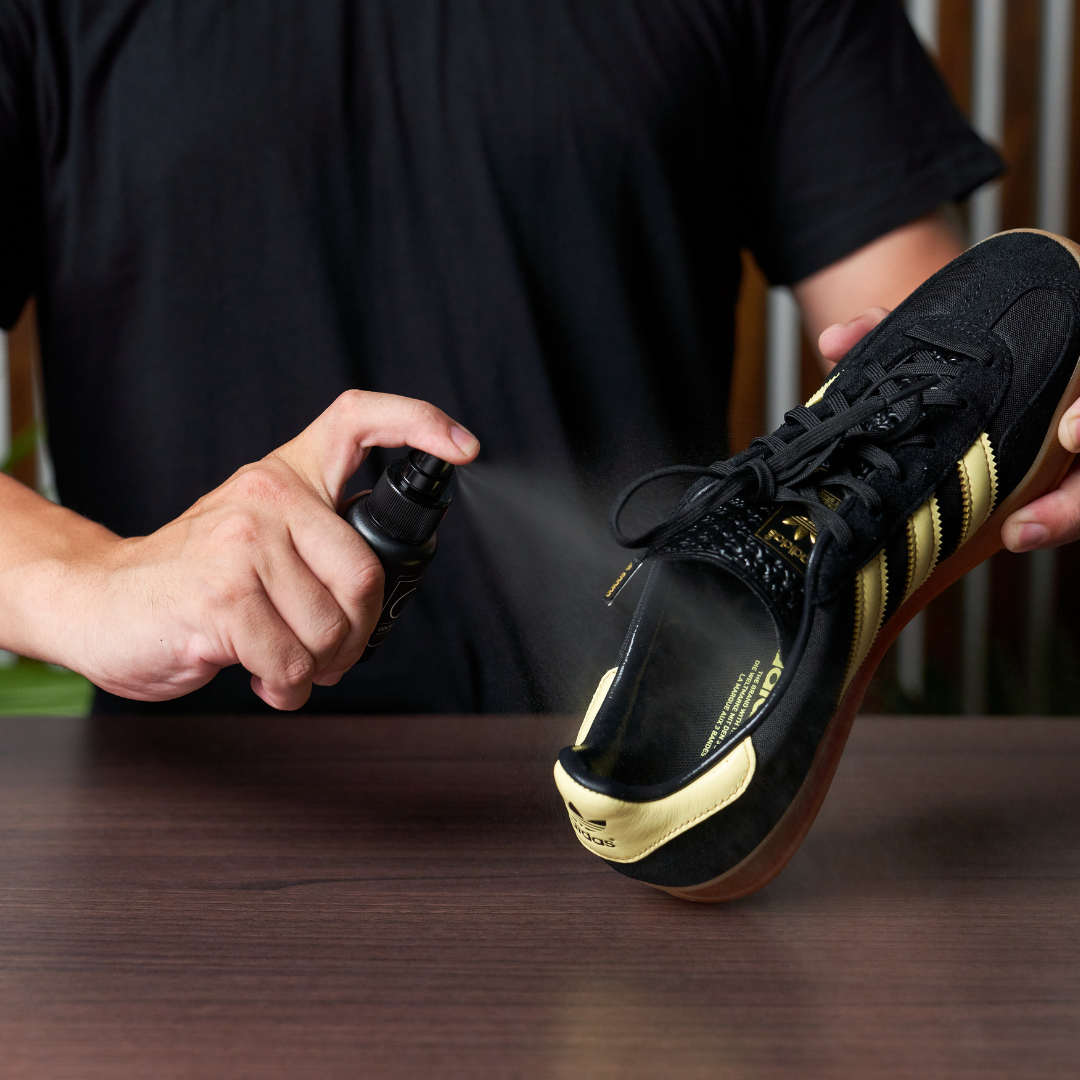
Next, we will add our Protective Sprays. Firstly, use our Odor Protector within the soles of the sneaker to remove unwanted odors and prevent bacteria from building up. If the inner soles are removable, take them out and spray the inside of the sneaker and the inner soles.
Step 7:
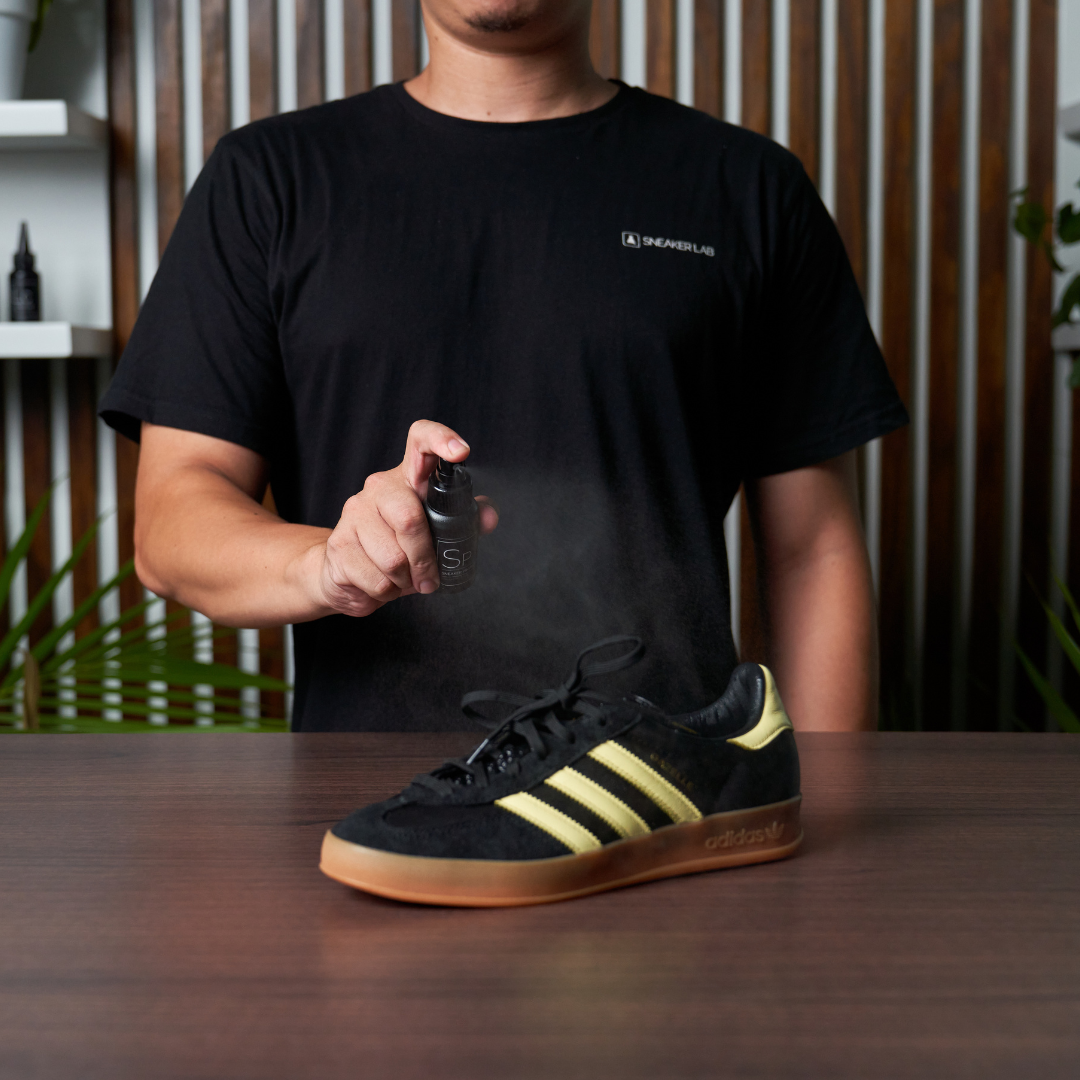
Lastly, spray our Sneaker Protector all around the exterior of the sneaker to prevent dirt and bacteria from setting in and in turn making your next clean easier. You are now ready to hit the streets in your clean Adidas Gazelles!
CLEAN, CARE, PROTECT
[ Follow ]
