How To Clean Nike Cortez
[ How To ]
Article
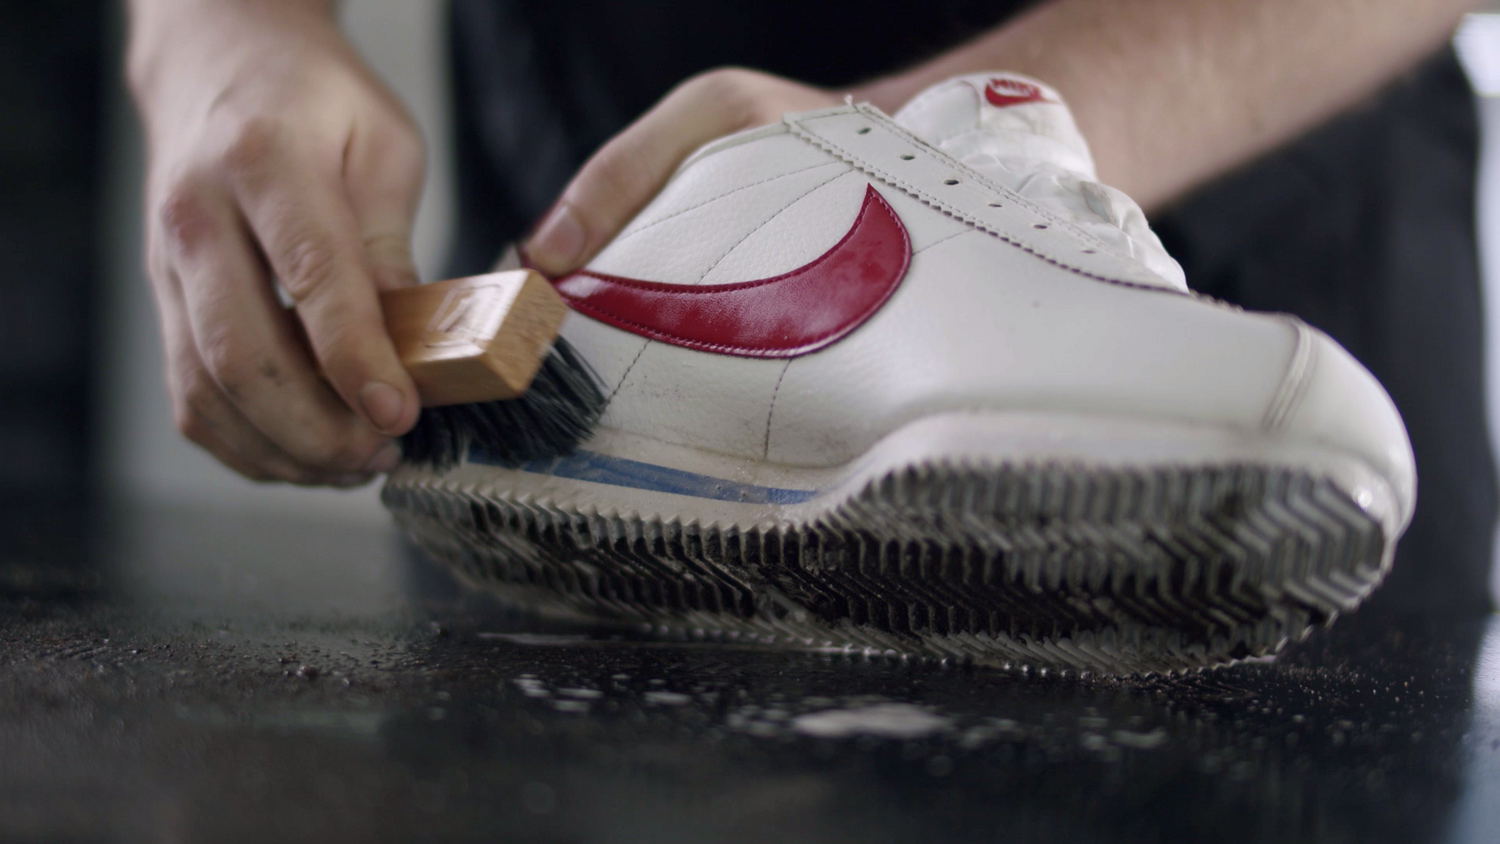 Play video
The Nike Cortez is a shoe that has become a pop culture icon that has been worn by champion runners, featured on the big screen and has become a staple of west coast hip-hop street style.
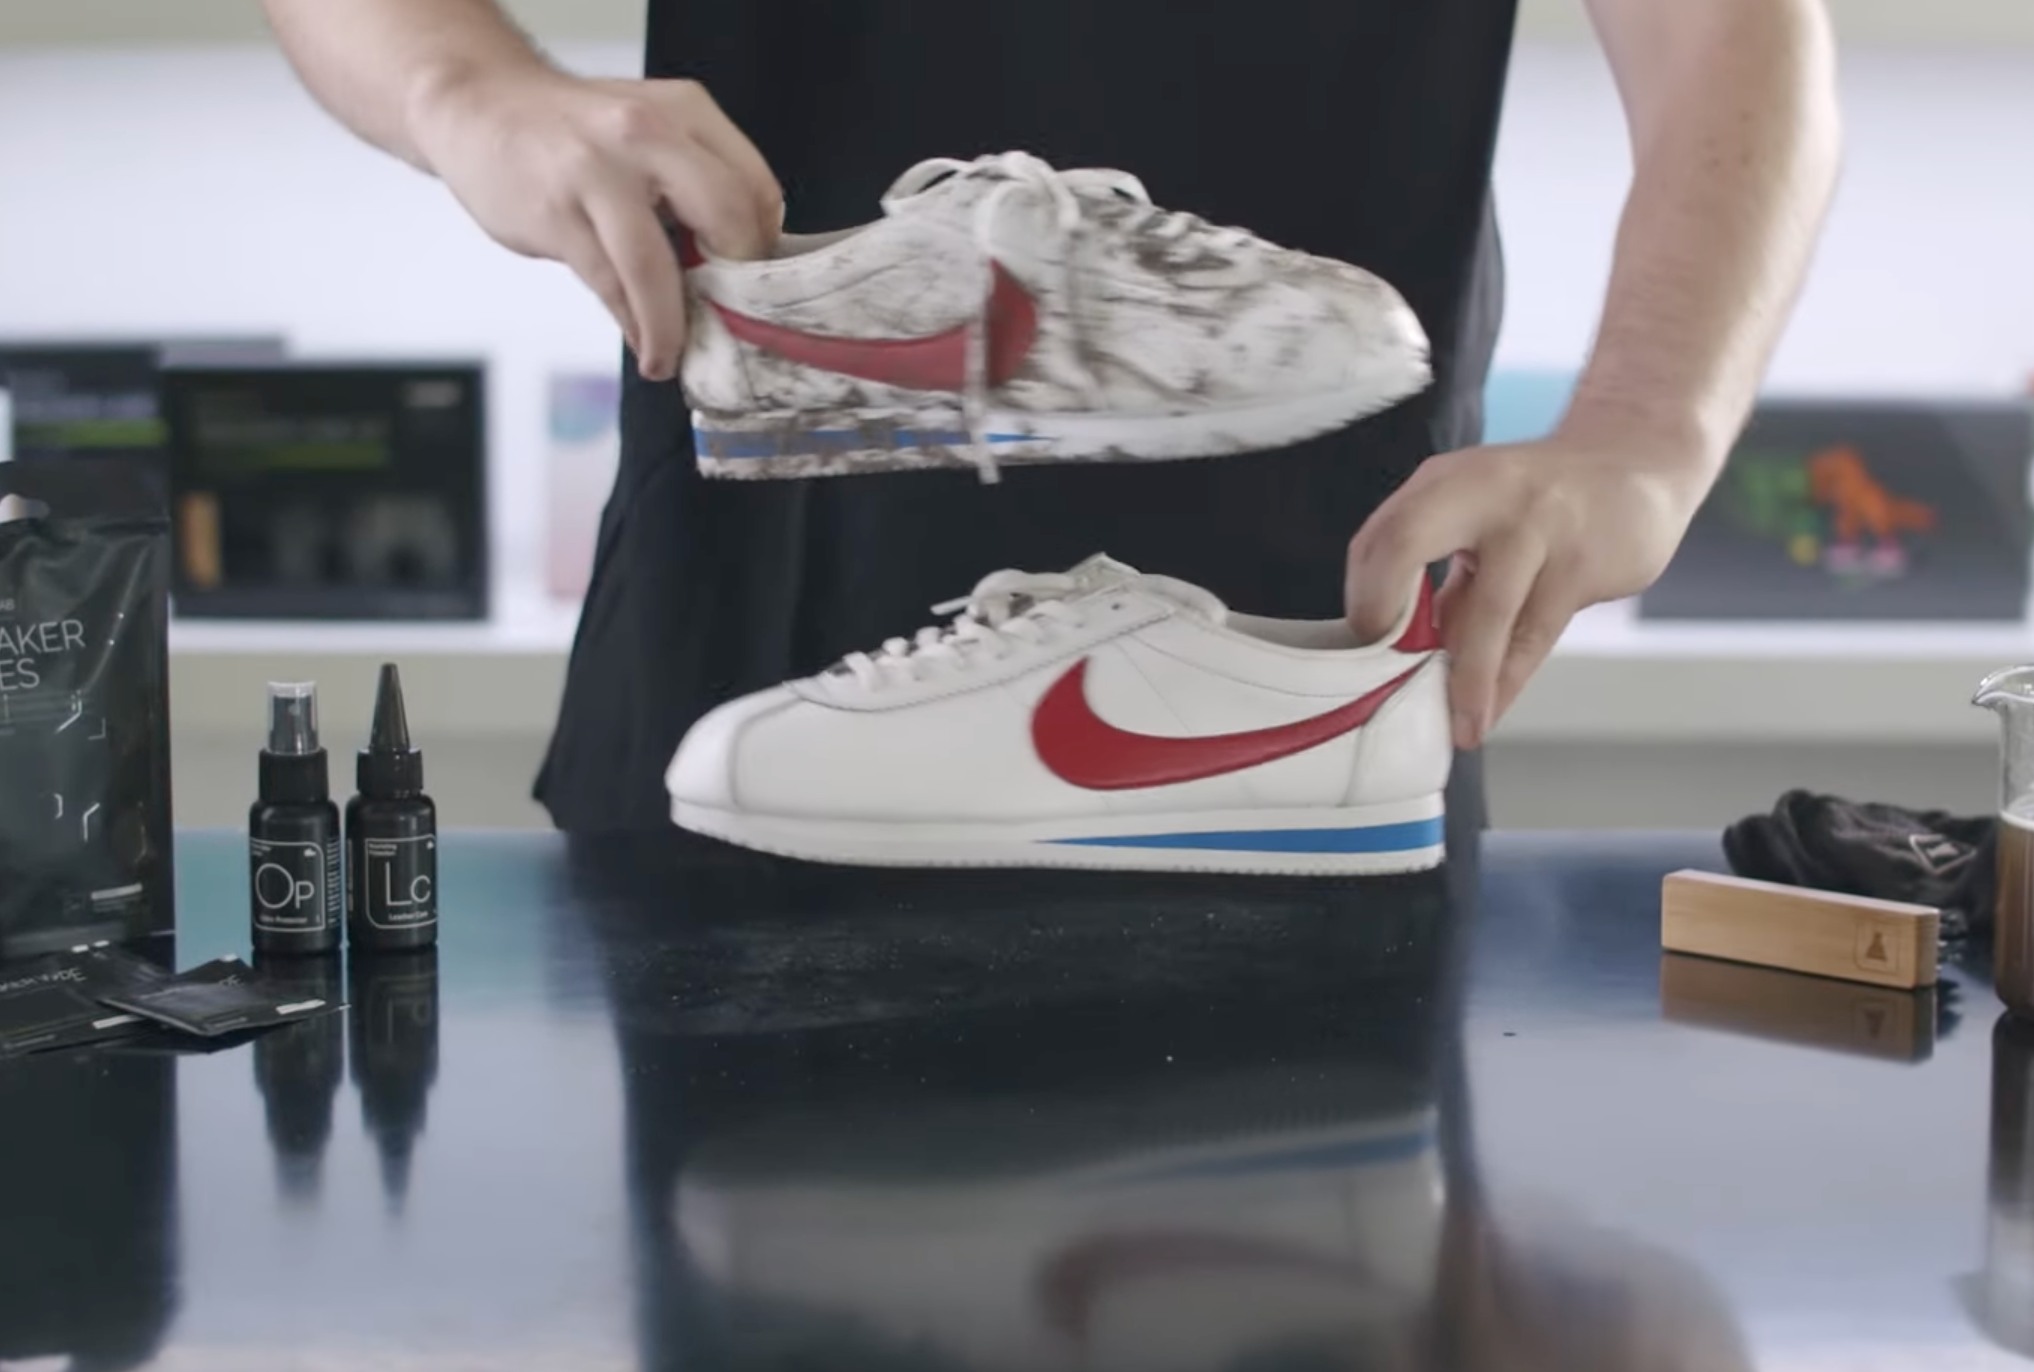
We got our hands on a beat-up pair to show you the best way to clean them. Here’s our step-by-step guide on how to get your sneakers looking fresh again.


Have a read through or watch the video above to find out how.
Here’s what you need to get your sneakers looking clean again. You will need our Sneaker Cleaner, Premium Brush, a container of water, Micro Fiber Towel, Sneaker Wipes, Odor Protector and our Leather Care.
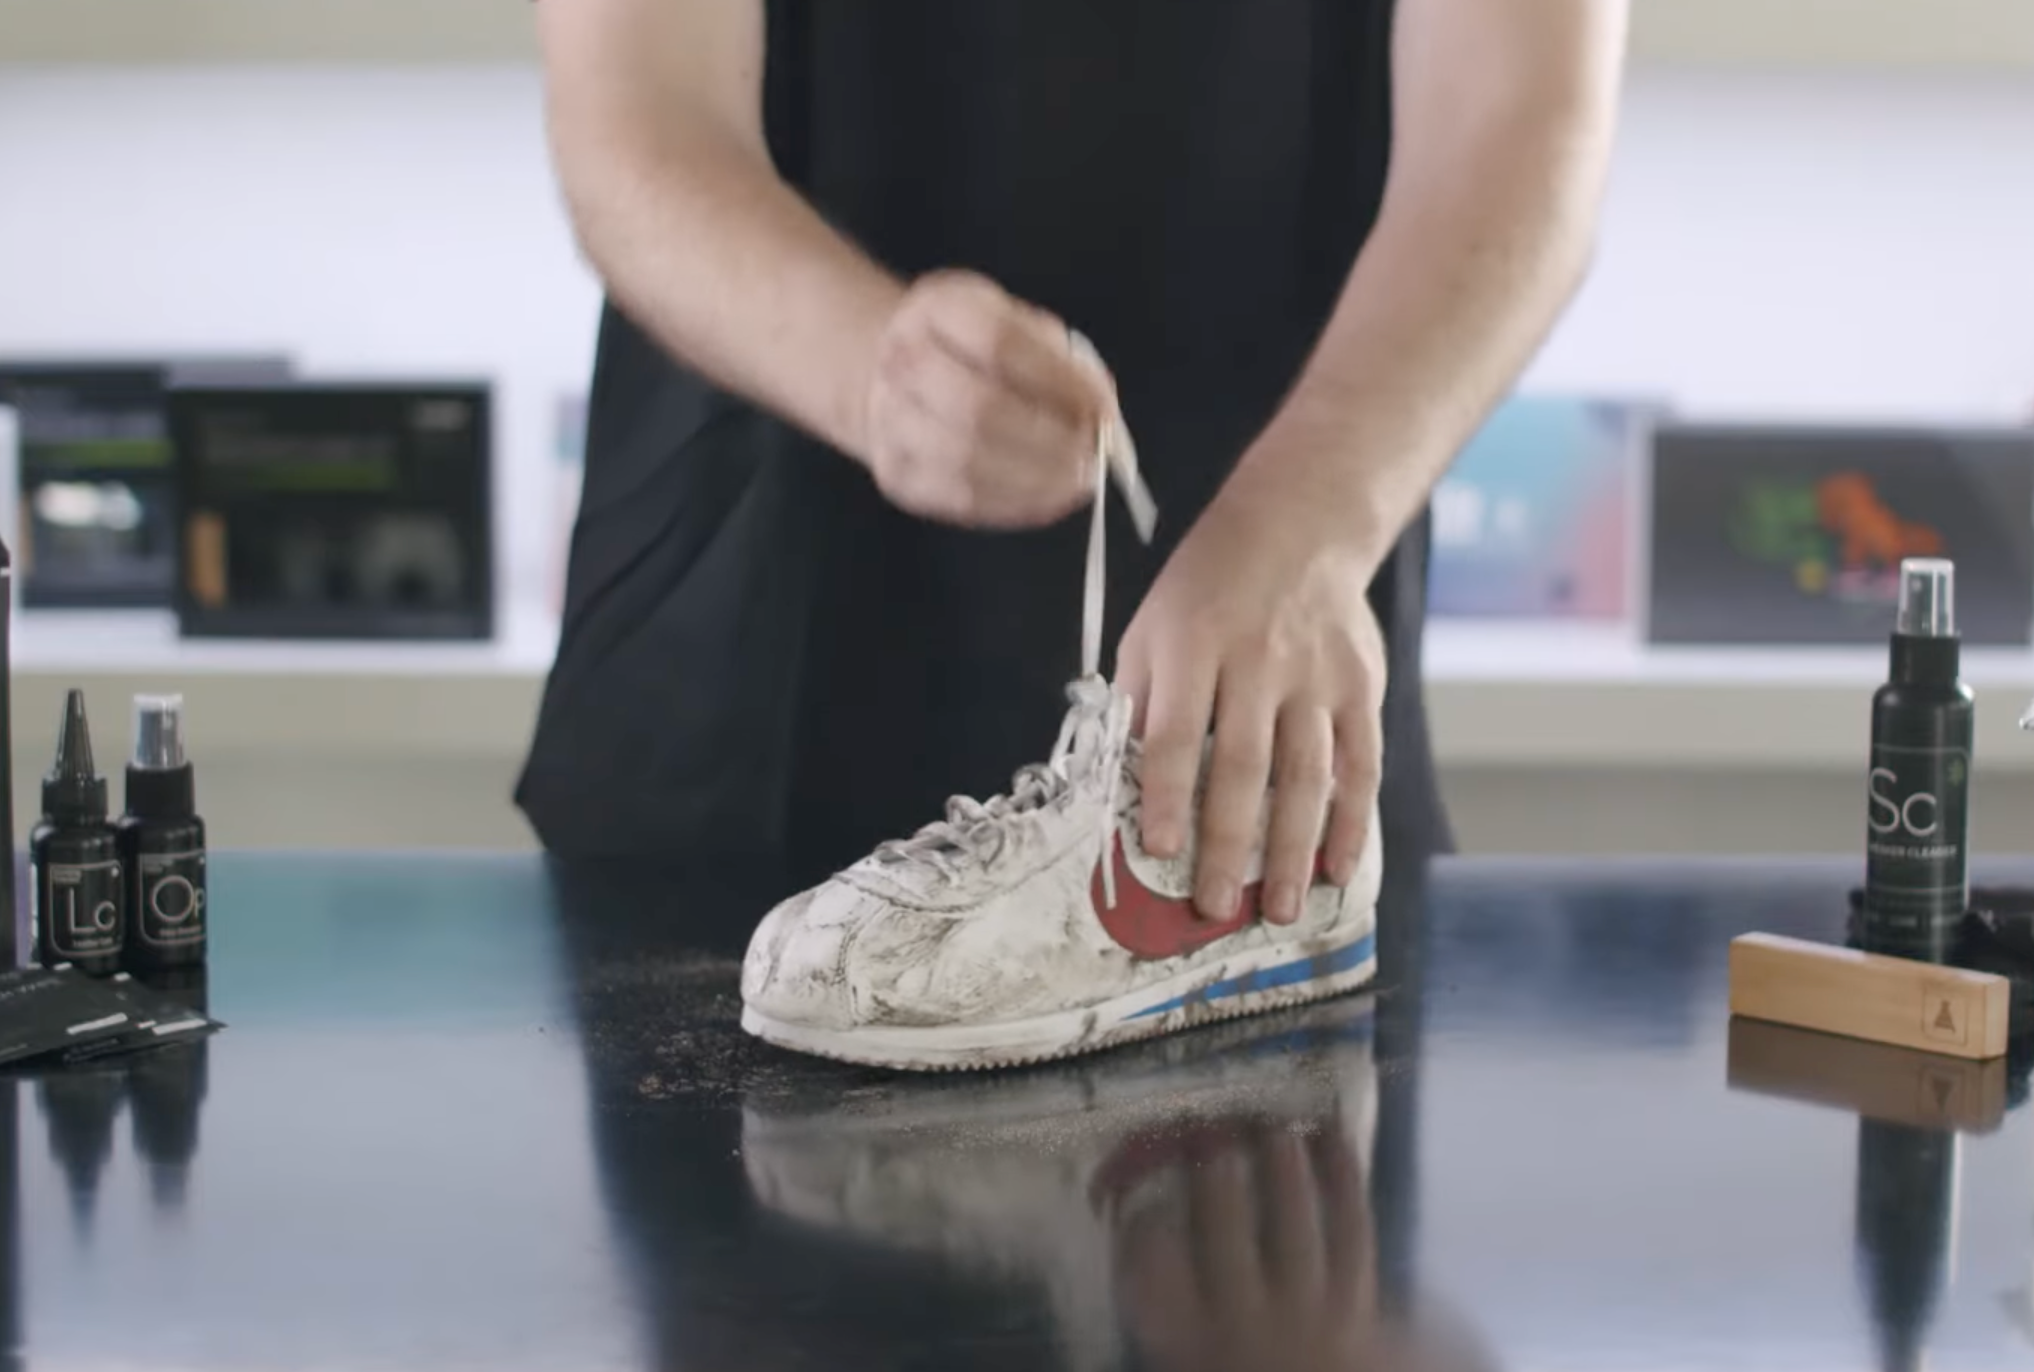
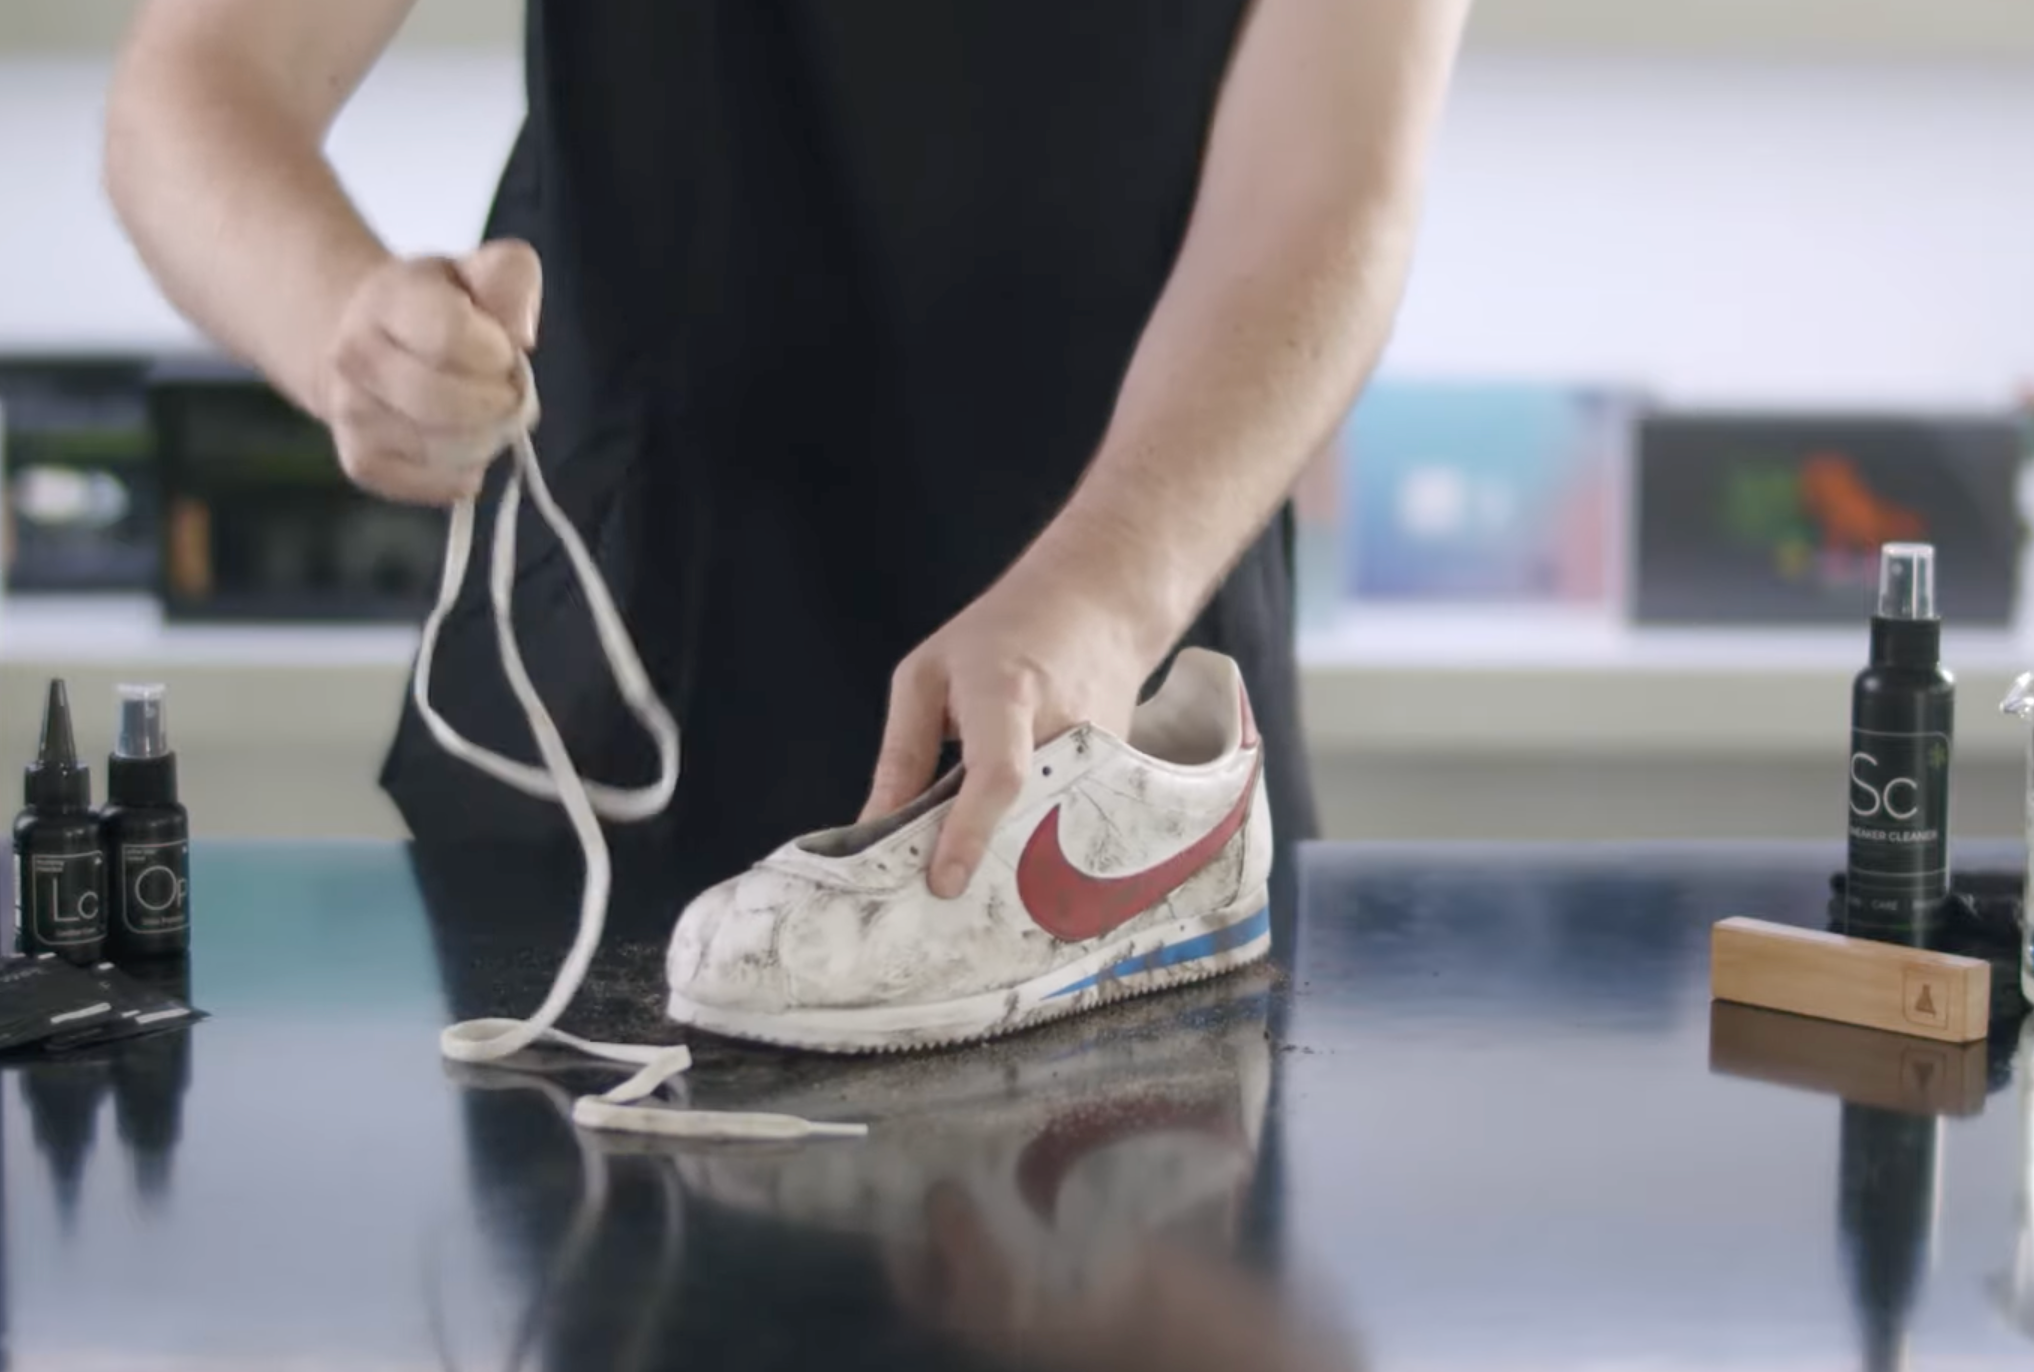
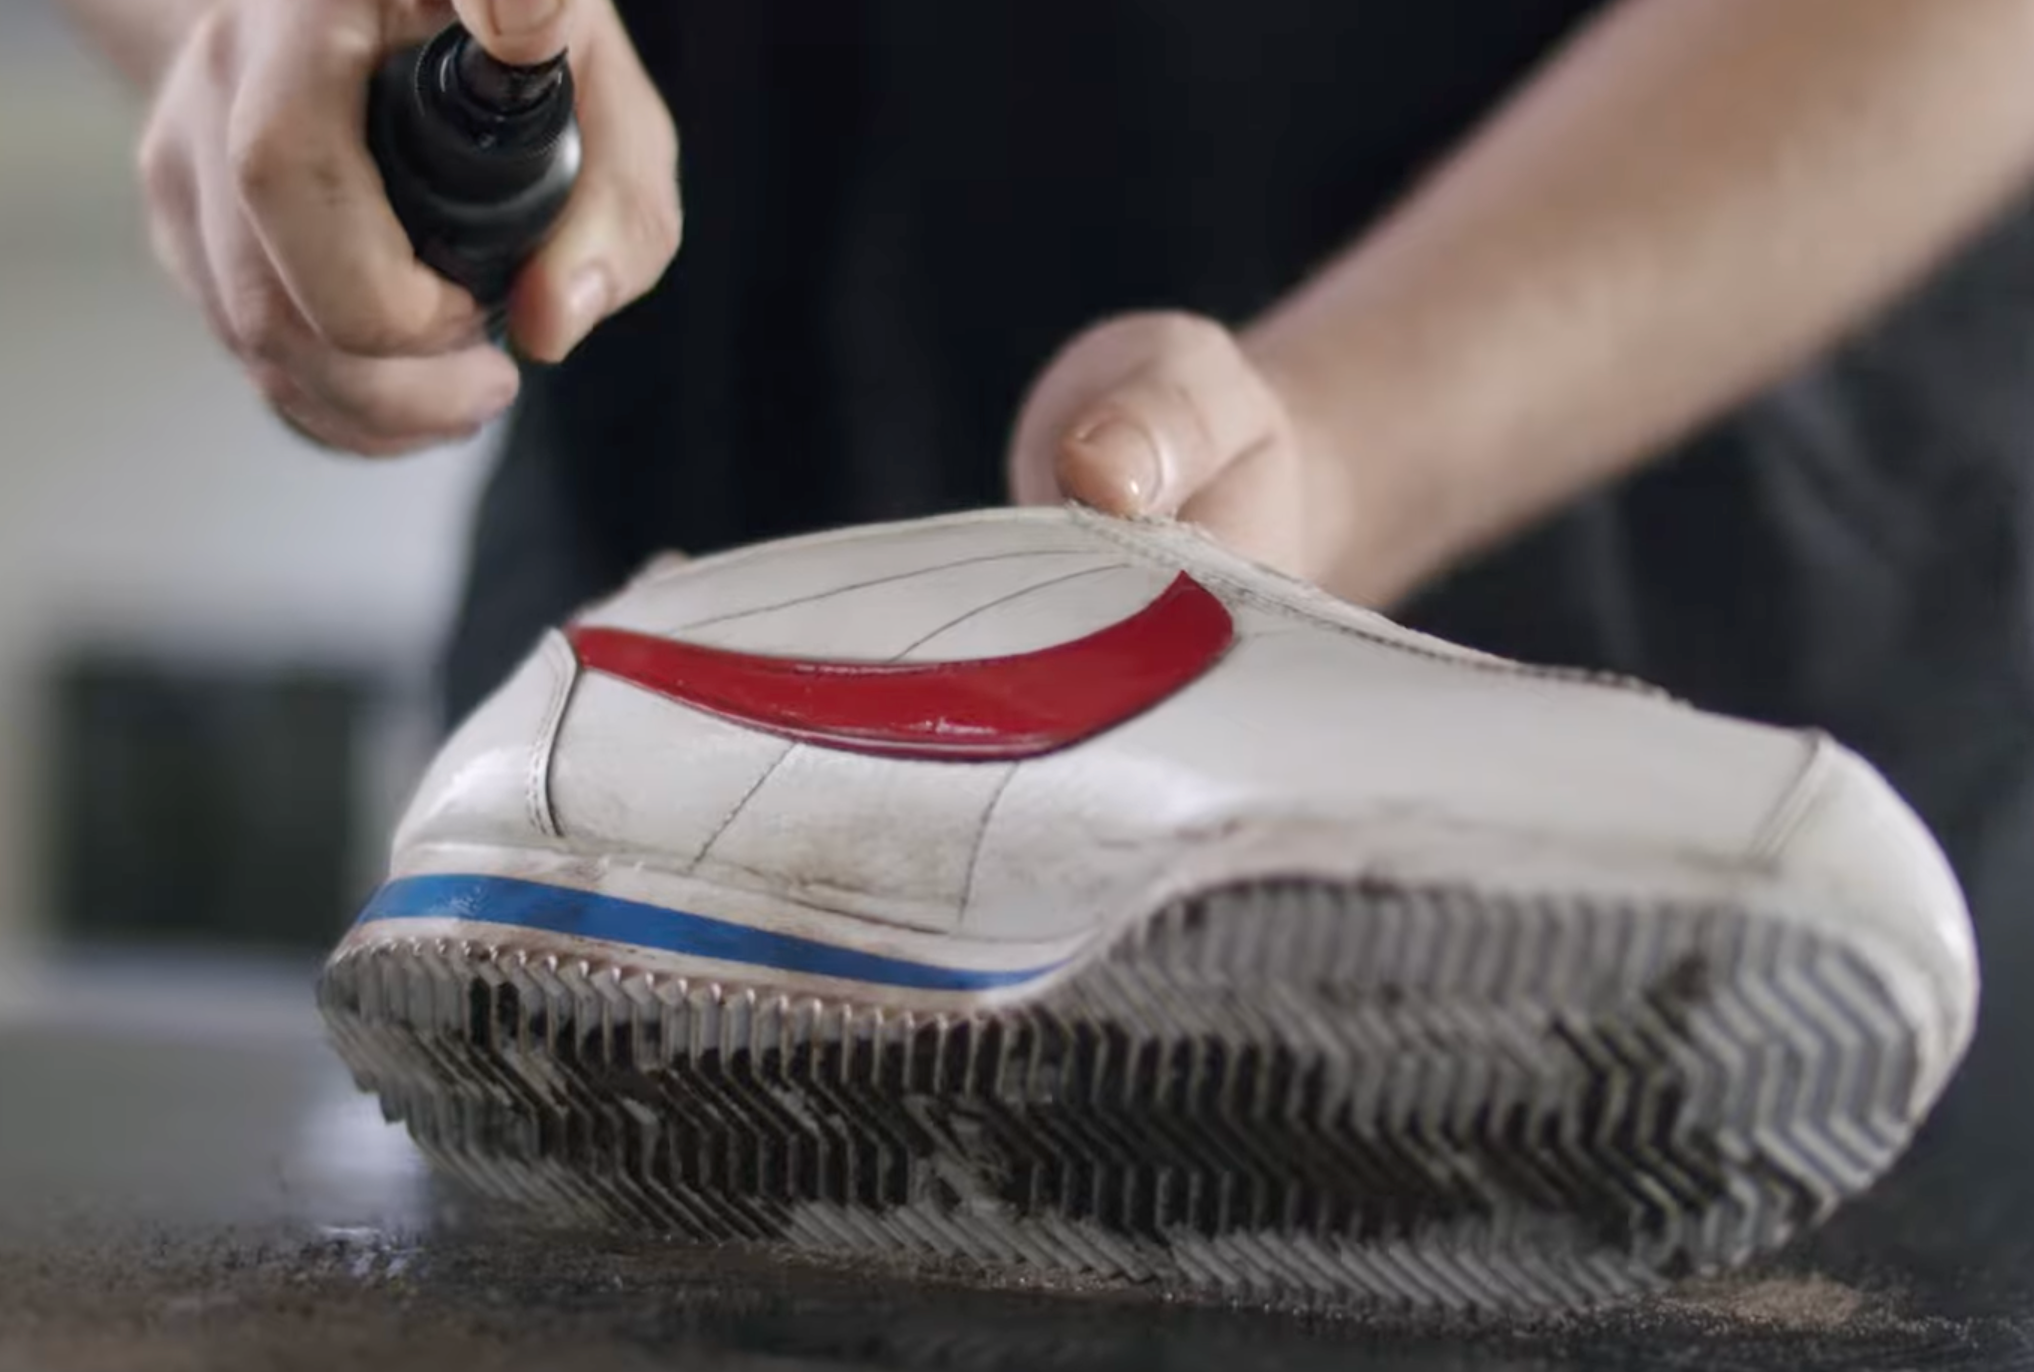


Here are the steps:
Step 1
Remove the laces so they can be cleaned at a later stage and allow access to clean the tongue of the sneaker. Once the laces have been removed, grab our Premium Brush and scrub off any loose and dry dirt. This will make the cleaning process easier.
Use one of our Sneaker Wipes to get rid of any surface level scuffs and stains. Since the uppers are leather, the Sneaker Wipe will get a lot of the dirt off.
Step 2
Generously spray your sneaker with our Sneaker Cleaner focusing on heavily dirtied areas. Dip our Premium Brush in water to wet the bristles of the brush and shake off any excess water. Then start scrubbing the upper of the sneaker to lift off the dirt. When you start scrubbing, a foam will form from the water and Sneaker Cleaner solution. Don’t worry about harming the leather when scrubbing as our Premium Brush is soft enough to not cause damage but firm enough to get rid of stubborn dirt. Rinse the brush and reapply Sneaker Cleaner when necessary. When the leather has been cleaned you can turn your attention to the tongue and the inner lining of the shoe.
Once the uppers are clean, move down to the soles of the sneaker. Hit the midsole of your sneakers with the Premium Brush and Sneaker Cleaner again. When dealing with the midsoles and soles you can apply more pressure as this dirt will be more difficult to remove. When the dirt has been lifted from the sneaker, use a microfiber towel to wipe off excess moisture and dirt. Once complete, set your sneakers aside to dry.
Step 3
Now that your sneakers have been cleaned, we can move on to the laces. Spray Sneaker Cleaner on the laces, rub them together in your hands and dip them into water. Continue this process until your laces are well saturated and beginning to appear clean. You can then ring out the water and leave to dry alongside your sneakers.
Step 4
Once your laces and shoes are dry, lace up your kicks in preparation for applying our Odor Protector and Leather Care.
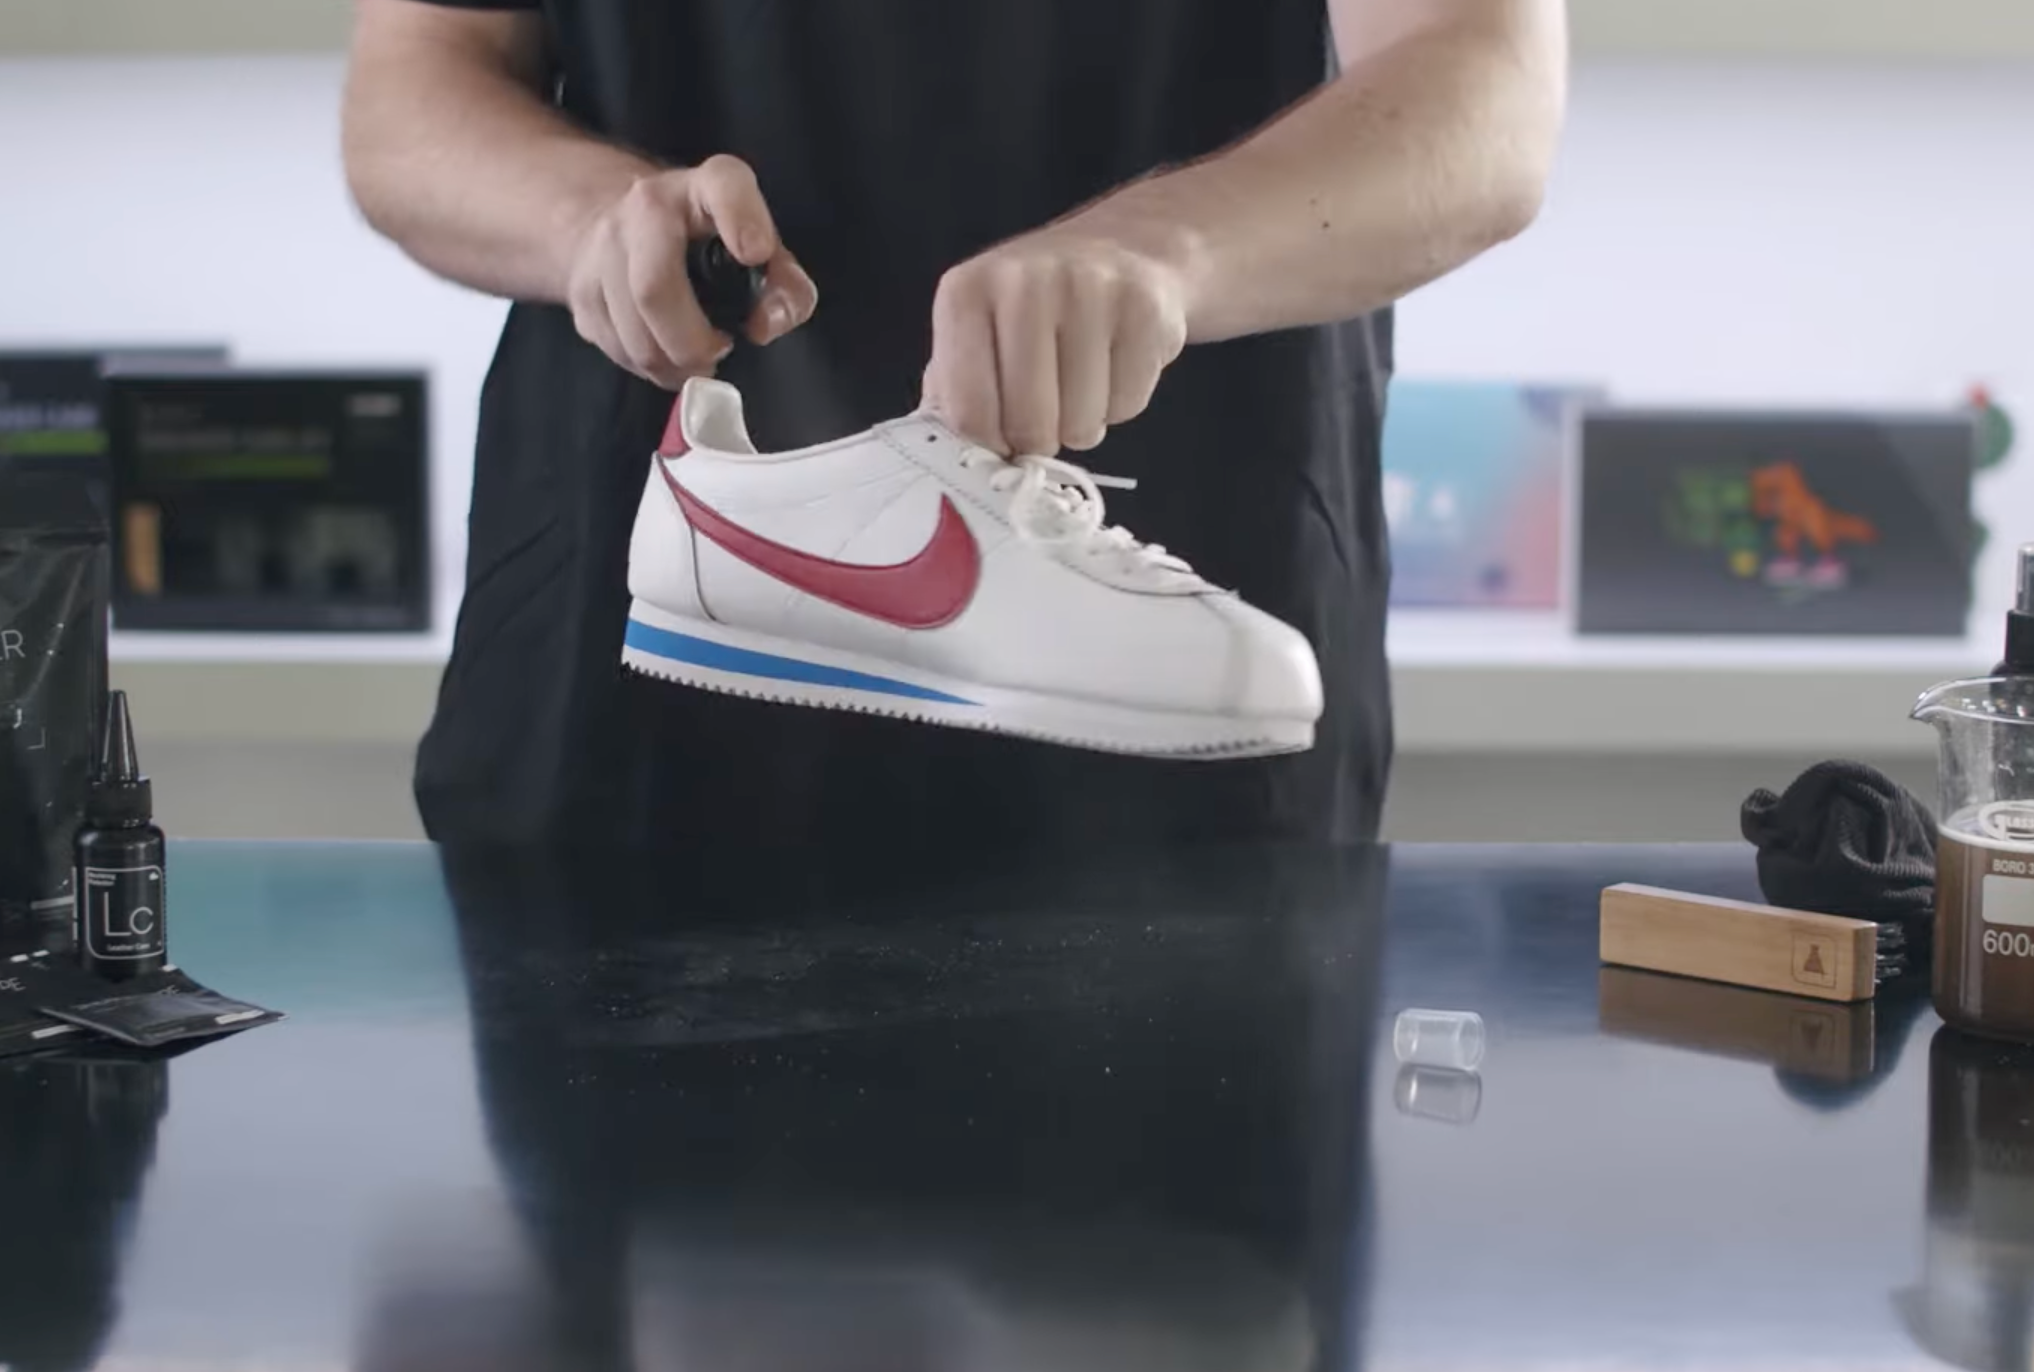
Use our Odor Protector to keep your sneakers feeling fresh for longer. If you have innersoles that are removable, spray them and the inside of your sneakers. This will fight off any unwanted odors.
Lastly, you can apply Leather Care to protect and nourish them. This will protect your sneakers from dirt, stains, UV Rays and make cleaning in the future easier. Apply Leather Care to a microfiber towel and gently massage into the leather and leave to air dry.

[ Follow ]


